An absolute beginners guide to WGPU
2021-12-30
Hi! Trying to learn WGPU without a deep graphics background can be extremely challenging. It doesn’t help that much of the content out there is written by people already with years of experience in the field. I wrote this tutorial to get absolute beginners started with graphics programming, but if you already have experience with Rust and graphics, I would check out the awesome learn-wgpu tutorial which will go faster and cover more topics.
That said, learning graphics takes time regardless of what tutorial you use, so feel free to skip around and come back to sections.
Sidenote (12/14/2025): This tutorial hasn't been updated in quite some time. AFAIK no one has reached out to me with problems. But if you do, email me at [email protected].
Background
So you want to get the GPU to do something...
To get your GPU device to do anything, you need to go through some OS/device specific APIs to tell your GPU what to do. In the past, you were required to do a lot of work yourself to support various APIs, even if your physical hardware is the same. That’s where WGPU comes in.
WGPU is a cross-platform graphics API written in Rust that’s an abstraction layer above native APIs like Vulkan, Metal, D3D12, and some others.
WGPU is based on the WebGPU spec which defines a graphics API that will be exposed in browsers. In fact Firefox uses WGPU for its WebGPU backend. WebGPU will be implemented eventually in modern browsers, but for now it’s guarded behind some flags. The good news is that once WebGPU ships, the programs you write in WGPU will be able to run natively in the browser!
You might have heard of OpenGL before coming here, or used it previously. OpenGL is another cross-platform API that is much more widely used than WGPU, but has some limitations since it’s a higher-level and older API. WGPU is designed to give developers more control and better match modern hardware.
WebGPU (and by design WGPU) also better matches the design of more modern graphics APIs like Vulkan and Metal. The tradeoff is that these APIs provide a lower-level interface which can be verbose and fragile at times. But don’t be scared! Even though the API is verbose, it’s usually not actually doing anything super complex that we have to worry about under the hood.
A note on Rust
WGPU is a library written in Rust and so is this tutorial. I imagine that you’re probably unfamiliar with Rust or haven’t used it widely so I’ll try to walk through some of the syntax here as well. This should be relatively easy to follow for anyone with some intermediate programming experience.
First steps
To get started, let’s install Rust! Go to rust-lang.org/tools/install and follow the instructions for downloading. rustup should install a bunch of tools (in ~/.cargo/bin) which should automatically be added to your PATH environment variable. The main tool we’ll use in this tutorial is cargo.
cargo is a package manager for Rust which we can also use for compiling and running Rust code.
First off, let’s make a package to hold our code. Run:
cargo init wgpu-intro…in the directory of your choice to create the wgpu-intro package.
You should see two files in the wgpu-intro directory:
.
├── Cargo.toml # Meta file for the cargo package manager
└── src
    └── main.rs # File with the main() function
First, open the Cargo.toml and add these lines to the [dependencies] section:
[dependencies]
winit = "0.26.0"
wgpu = "0.12.0"
env_logger = "0.9"
log = "0.4"
pollster = "0.2"
We won’t use all these dependencies now, but they’ll come in handy later. Here’s a little bit of info on how we’re going to use each package:
winitis used as the cross-platform abstraction of window management. This allows us to easily make windows and handle window events (such as key presses) without having to do OS-specific work.wgpuis the WGPU library of course! This library holds all the functions and types necessary for communicating with the GPU and translating the API calls into the actual Vulkan/Metal/etc. commands.env_loggerandlogare used to providewgpua way to output useful messages to the console instead of just exiting without any output.pollsteris used to run an async function we’ll talk about later to completion. Rust has a pretty interesting model of concurrency that requires us to use this to await completion of a future in the main function.
In the next section we’ll set everything up, but for now run:
cargo run…anywhere in the wgpu-intro directory and you should see the dependencies downloaded and a “Hello, world!” message printed.
Creating a window
Before we can show anything on the screen, we first need to create a window. Since we’re using winit as our windowing library, we’ll import some utilities and call some setup functions in our main.rs file.
use winit::{
   event::*,
   event_loop::{ControlFlow, EventLoop},
   window::WindowBuilder,
};

fn main() {
    env_logger::init(); // Necessary for logging within WGPU
    let event_loop = EventLoop::new(); // Loop provided by winit for handling window events
    let window = WindowBuilder::new().build(&event_loop).unwrap();

    // Opens the window and starts processing events (although no events are handled yet)
    event_loop.run(move |event, _, control_flow| {});
}
If you cargo run now, you should see a window popup on your screen like:

Great! We now have a window ready for us to use. You can use Ctrl+C to kill the process in your terminal since the window controls will not work. Let’s handle a little user input to make it easy to close the window. Modify the event loop to look like this:
event_loop.run(move |event, _, control_flow| {
    *control_flow = ControlFlow::Wait;

    match event {
        Event::WindowEvent {
            event: WindowEvent::CloseRequested,
            window_id,
        } if window_id == window.id() => *control_flow = ControlFlow::Exit,
        Event::WindowEvent {
             event: WindowEvent::KeyboardInput { input, .. },
             window_id,
         } if window_id == window.id() => {
             if input.virtual_keycode == Some(VirtualKeyCode::Escape) {
                 *control_flow = ControlFlow::Exit
             }
         }
        _ => (),
    }
});
We just added a body to the event loop closure to handle the CloseRequested (hitting the X button on the window) and the escape key which you can use to close the winit window.
It took me a little bit to get used to the Rust-y way of writing things so feel free to take a little time to digest all of this. Some questions I had with some answers are below:
Why do we need to use move and what does it do here?
move is used to capture a closure’s environment by value — meaning that the variables defined outside the closure can outlive the context where those variables are defined. Also, the parameter to run is defined to be 'static which causes compiler errors to let us know that this behavior occurs.
What is the if statement doing after the match value?
This is called a guard and can be used to further filter the arm based on the conditional given. It’s usually used when destructuring structs like the event struct is here.
If you’re still a little lost, I highly recommend taking a look at rust-by-example which is an awesome tutorial on Rust. Otherwise, feel free to continue going. I think this was the most confusing syntax-wise part for me.
Anyways, this gets us through the winit setup that we need to make a window. Now let’s use WGPU to do something!
Let’s do some rendering!
Like I said before, the WGPU API is very verbose, but don’t worry — just because it’s a lot of lines, doesn’t mean it’s doing anything super complicated. Additionally, the API uses some jargon that may not mean exactly what you’re used to, so feel free to look up anything in the WGPU docs or the WebGPU spec for help. Both can give some context on why things are named the way they are.
First, let’s set up a connection to the GPU:
fn main() {
    ...
    let window = WindowBuilder::new().build(&event_loop).unwrap();

    let instance = wgpu::Instance::new(wgpu::Backends::all());
    let surface = unsafe { instance.create_surface(&window) };
    let adapter = pollster::block_on(instance.request_adapter(&wgpu::RequestAdapterOptions {
        power_preference: wgpu::PowerPreference::default(),
        compatible_surface: Some(&surface),
        force_fallback_adapter: false,
    }))
    .unwrap();

    let (device, queue) = pollster::block_on(adapter.request_device(
        &wgpu::DeviceDescriptor {
            label: None,
            features: wgpu::Features::empty(),
            limits: wgpu::Limits::default(),
        },
        None, // Trace path
    ))
    .unwrap();

    let size = window.inner_size();
    surface.configure(&device, &wgpu::SurfaceConfiguration {
        usage: wgpu::TextureUsages::RENDER_ATTACHMENT,
        format: surface.get_preferred_format(&adapter).unwrap(),
        width: size.width,
        height: size.height,
        present_mode: wgpu::PresentMode::Fifo,
    });
    ...
}
There’s a lot going on here so take some time to internalize what is being done and how the pieces connect together. In summary, we are setting up a connection between the window and GPU device so we can begin to send commands to the GPU.
wgpu::Instance::new(wpgu::Backends::all())creates an instance of the WGPU API for all backends. Backends define the actual API (Vulkan, Metal, DX, etc.) that WGPU selects to make calls.instance.create_surface(&window)gets a surface from the window that WGPU can make calls to draw into.pollster::blockon(instance.requestadapter(...))waits on the WGPU API to get an adapter.pollster::blockon(adapter.requestdevice(...))gets the actualdevicewhich represents the GPU on your system, and aqueueto submit work.surface.configure(&device, ...)connects the surface (window) and device.
Now we have a window, a WGPU instance, a configured surface, and a device with a queue — all the tools needed to set up a render, but we’re not actually doing any rendering yet. Let’s fix that. Add the following lines inside your event loop.
match event {
    ...
    Event::RedrawRequested(_) => {
       let output = surface.get_current_texture().unwrap();
       let view = output.texture.create_view(&wgpu::TextureViewDescriptor::default());
       let mut encoder = device.create_command_encoder(&wgpu::CommandEncoderDescriptor {
           label: Some("Render Encoder"),
       });

       {
           let _render_pass = encoder.begin_render_pass(&wgpu::RenderPassDescriptor {
               label: Some("Render Pass"),
               color_attachments: &[wgpu::RenderPassColorAttachment {
                   view: &view,
                   resolve_target: None,
                   ops: wgpu::Operations {
                       load: wgpu::LoadOp::Clear(wgpu::Color {
                           r: 0.1, // Pick any color you want here
                           g: 0.9,
                           b: 0.3,
                           a: 1.0,
                       }),
                       store: true,
                   },
               }],
               depth_stencil_attachment: None,
           });
       }

       queue.submit(std::iter::once(encoder.finish()));
       output.present();
     },
 ...
}
Now for the exciting part — do a cargo run and you should see this:
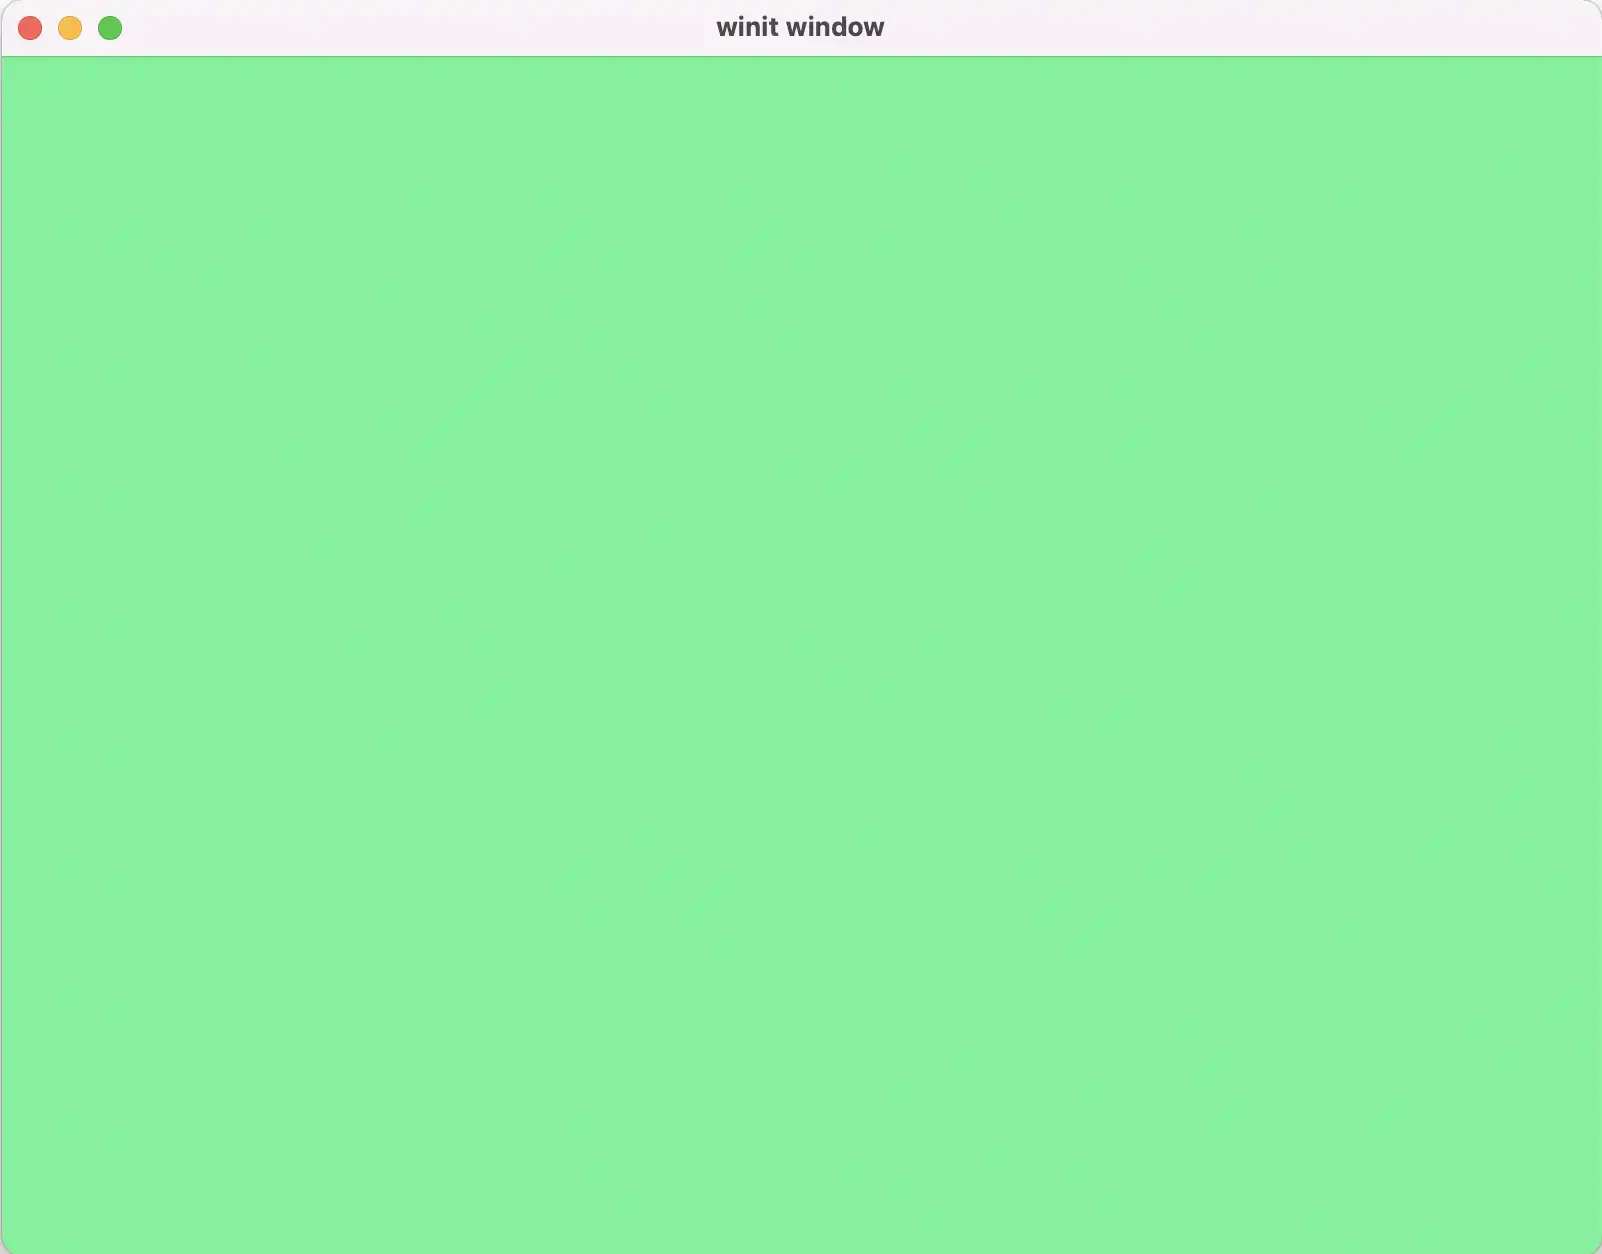
Amazing. It might not look like much but you’re now actually telling your GPU to do something, which is pretty cool!
Now let’s do something fun with this. We’ll create a smooth transition from blue 0.0 to blue 1.0 and back again using some simple logic.
let mut blue_value = 0; // New
let mut blue_inc = 0; // New

event_loop.run(move |event, _, control_flow| {
    ...
    Event::RedrawRequested(_) => {
        ...
        load: wgpu::LoadOp::Clear(wgpu::Color {
            r: 0.1,
            g: 0.9,
            b: blue_value, // New
            a: 1.0,
        }),
        ...
        output.present();

        // New
        blue_value += (blue_inc as f64) * 0.001;
        if blue_value > 1.0 {
            blue_inc = -1;
            blue_value = 1.0;
        } else if blue_value < 0.0 {
            blue_inc = 1;
            blue_value = 0.0;
        }
    },
    // New
    Event::MainEventsCleared => {
       window.request_redraw();
    }
    ...
});
Note: Notice the MainEventsCleared lines. Before we were actually only submitting one render pass since we have to trigger a redraw due to how the windowing library is implemented.
You should see a smooth transition from green to light blue and back again.
Note (12/11/2025): Unfortunately I haven't had time to continue this tutorial, but maybe some day I'll come back. For now, I recommend the learn-wgpu tutorial. It's a little less beginner friendly but there might be some other tutorials that are better now than when this tutorial was written.
Based on the learn-wgpu tutorial.